From Worn to Wow: Our Expert Process for Cabinet Refinishing
Our Cabinet Refinishing Process Restores Beauty, Durability, and Value to Your Kitchen Cabinets
If you live in Boise, you know your kitchen is the heart of your home. But let’s be honest: all that living takes a toll.
Those beautiful cabinets you once loved? They’re probably showing their age. You see the sticky residue near the handles, the faded color under the sink, and those little dings that tell the story of a busy life.
You have three options:
- Replace them.
- Try a DIY paint job.
- Call in the pros for a beautiful, long-lasting refinish.
At Paul's Precision Painting, cabinet refinishing isn't a quick fix; it's a craft. We’re a fourth-generation painting company right here in the Treasure Valley, and we believe your cabinets deserve a finish that looks and feels brand new, without the chaos of a full remodel.
Think of our process not as painting, but as a full kitchen rejuvenation. We handle the dirty, complicated, and time-consuming details so you can simply enjoy the "wow" factor.
Here’s an insider look at our meticulous, step-by-step process—the secret sauce that turns those worn cabinets into a durable, factory-finish masterpiece.
Phase 1: The Kitchen Intervention—Listening and Prepping Your Space
The first step isn't about sanding; it's about listening. We want to understand what you truly envision for your home.
1. The Consultation: What’s Your Dream Kitchen?
This is our "design day." We pull up a chair and talk through everything from color to functionality.
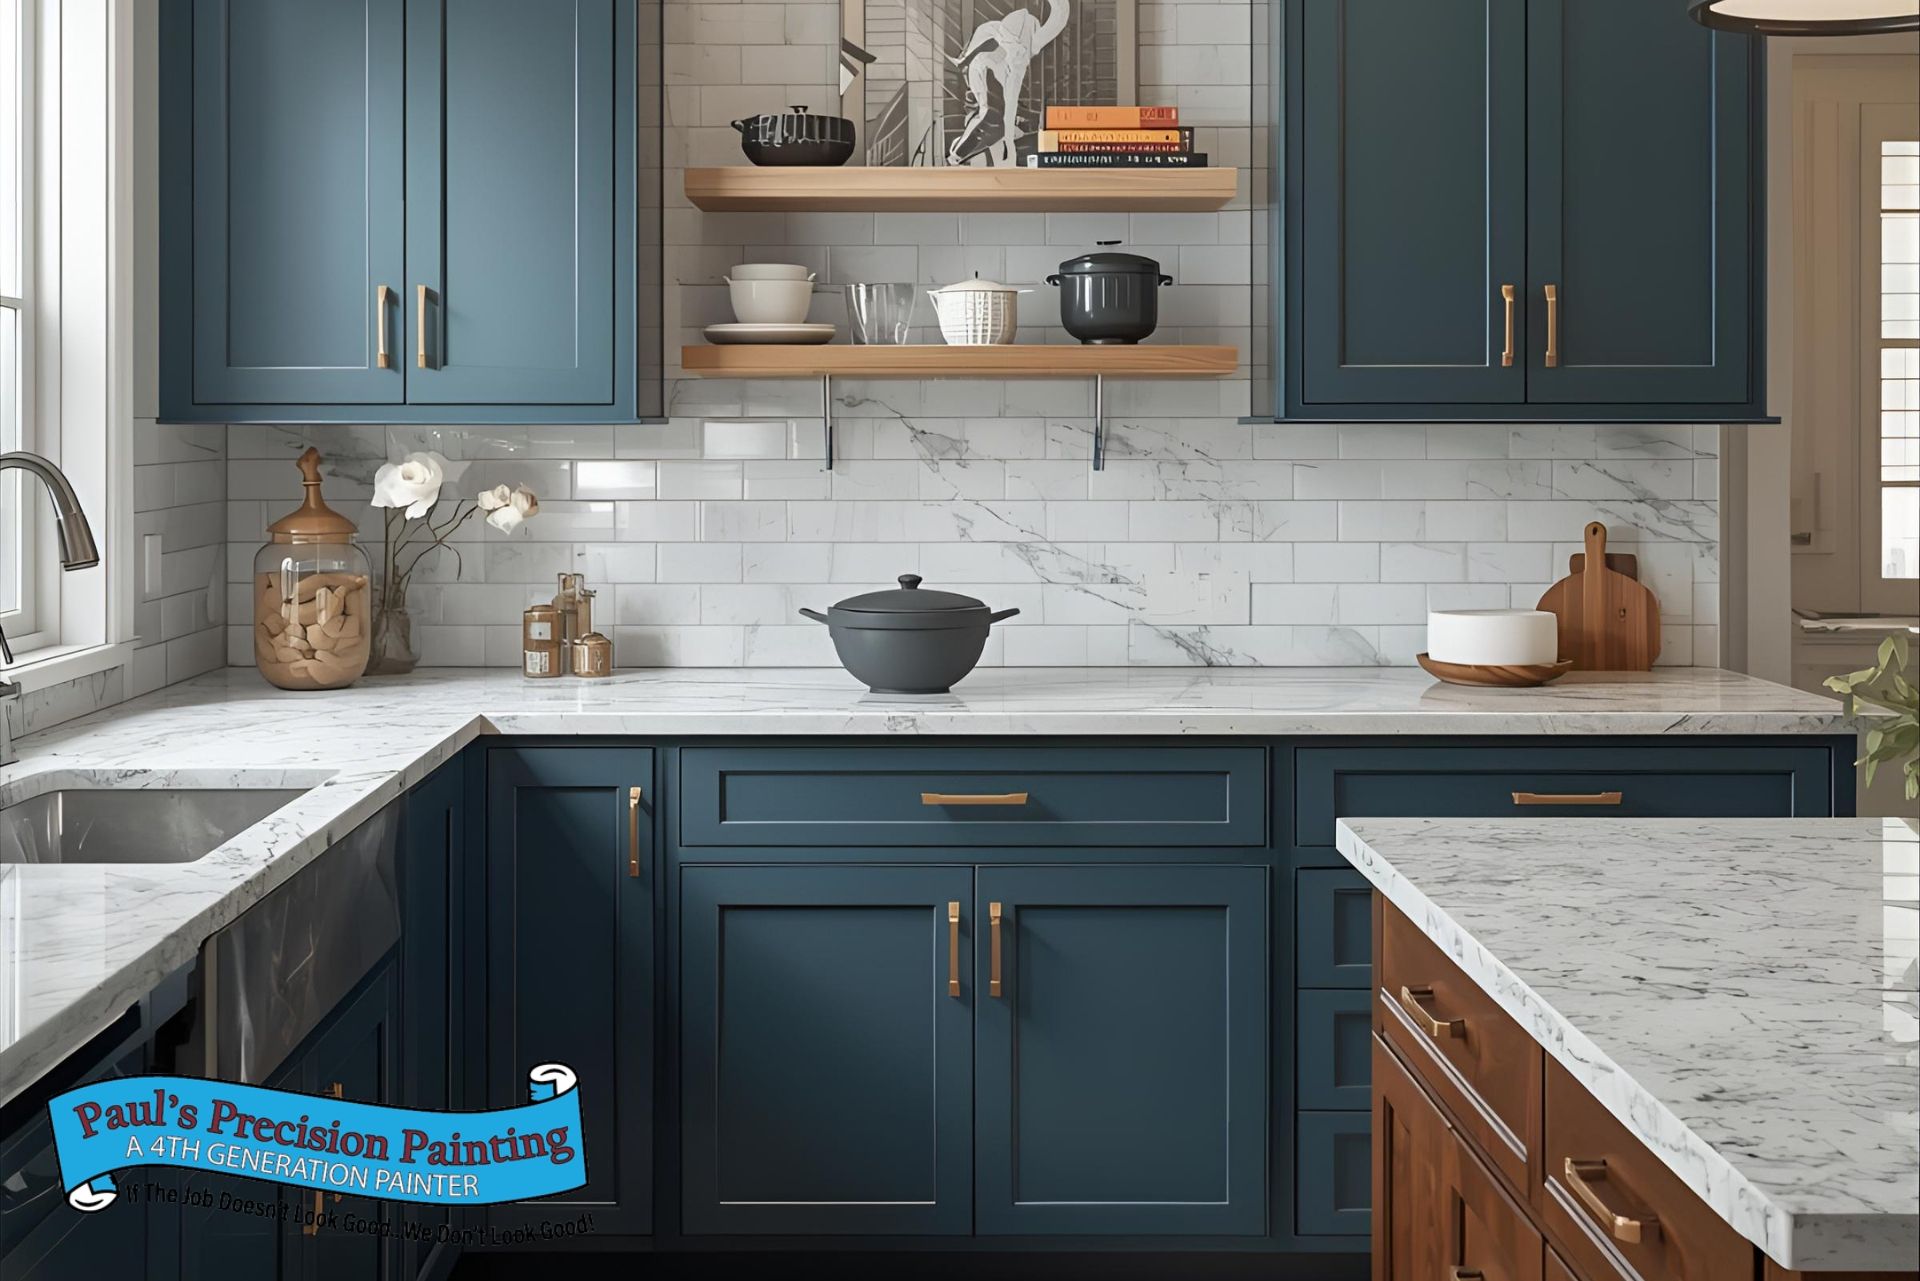
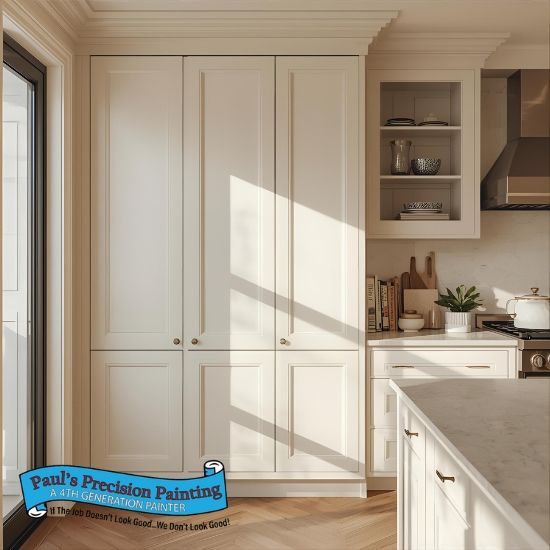
- Color Confidence: Whether you're obsessed with a classic navy blue or want a timeless crisp white, we help you select a cabinet-specific coating that will look incredible under your kitchen lighting.
- The Cabinet Health Check: We examine every inch of your cabinets—checking for loose joints, deep scratches, or any quirks that need our special attention. If the integrity isn't there, the finish won't last, and we'll be honest with you about any necessary repairs.
2. Deconstruction and The Numbering System
This is where the precision starts. Trying to paint cabinets while they hang guarantees drips and a patchy finish.
- Everything Off: Every single door, drawer front, hinge, knob, and pull comes off.
- The Map: We use a meticulous labeling system. It's like giving every piece a unique GPS coordinate. This is critical because not all cabinet openings are perfectly square or uniform. Our system ensures every door goes back exactly where it belongs, so everything closes smoothly.
3. Creating a Clean, Safe Bubble
We know we’re working in your home, and we treat it with respect. Our job is to transform your cabinets, not your house.
- Extreme Protection: We become masters of masking. Your countertops, appliances, floors, and walls are completely covered with specialized paper and plastic sheeting.
- Dust Containment: We set up a high-power ventilation system in your kitchen. This creates a contained "bubble," trapping sanding dust and fine paint particles. This means a cleaner home for you and a flawless finish for us. The doors and drawers? They head to our controlled shop environment for the smoothest finish possible.
Phase 2: The Pro Difference—Deep Cleaning and Flawless Foundation
If a DIY job is like giving your cabinets a quick shower, our process as`professional
painting contractors is like sending them to a specialized spa. This preparation is 80% of the job, and it’s what guarantees the durability and smoothness that homeowners crave.
4. The Grime Fight: Deep Degreasing
Kitchen cabinets are coated in layers of invisible grease and cooking residue. If you paint over that, it will peel.
- Industrial Strength: We use professional-grade degreasers—far stronger than what's available at the hardware store—to chemically strip away every bit of grease, wax, and oil.
- Squeaky Clean: We rinse them thoroughly and let them fully dry. A professional finish can only start on a completely sterile surface.
5. Repairing the Scars of Use
We don't just cover the past; we erase it.
- Seamless Repair: We meticulously fill every ding, chip, and scratch with high-grade wood filler. We treat cracks in the face frames with care to stabilize and prepare them for a lifetime finish.
6. The Perfect Tooth: Multi-Stage Sanding
This step is the backbone of proper adhesion. We don’t just "scuff" the surface—we engineer the surface.
- Progressive Grits: We sand with various grits of sandpaper (think fine-tuning, not roughness) to create the perfect “tooth” for the new primer to bite into.
- Vacuum and Tack Cloth: After every single sanding pass, we use a shop vac and special tack cloths to lift every last piece of dust. If there's dust, the paint will sit on it, not bond to it.
Phase 3: The Factory Finish—Spraying the Perfect Coa
This is the magic phase that makes your cabinets look like they came straight from the factory showroom.
7. Bonding with a High-Performance Primer
Standard wall primer just won't cut it. For cabinets that get used every day, you need something tougher.
- Stain-Blocking Power: We use a premium, cabinet-specific primer engineered to block tannins (stains from the wood itself) and seal the prepared surface.
- The Crucial Second Sand: After the primer cures, we scuff sand it one more time. This removes any tiny imperfections raised by the primer, guaranteeing a surface that is flawlessly smooth to the touch before the final color goes on.
8. The Flawless Topcoat Application
Forget messy brushes or patchy rollers. We rely on technical excellence for a superior look.
- HVLP Spraying: This is the pro secret. Using a High-Volume Low-Pressure (HVLP) spray system, we atomize the paint into a perfect, fine mist. This ensures a brush-stroke-free finish that completely “levels out” as it cures—the true sign of a professional job.
- Cabinet-Grade Enamel: We only use the most durable, robust coatings available—products that meet or exceed industry standards for resistance to household chemicals and physical wear.
- Thin Layers, Maximum Durability: We apply two to three very thin, even coats of your final color, allowing proper drying time between each. This build-up of layers creates the deep, rich color and lasting strength.
Phase 4: Homecoming and The Big Reveal
You might also like
Boise Idaho Painters Blog